2 분 소요

K8s 클러스터에서의 DistDGL 분산학습

1. 단일 컨테이너에서의 DistDGL 학습

1-1. WSL2 환경 구축

  • WSL2 Ubuntu 24.04 LTS 환경을 기반으로 단일 노드에서 작동하는 DistDGL dockerfile을 작성할 것이다
  • 관련 문서는 아래 홈페이지를 참고하자
  • wsl2에-ubuntu-24-04-lts-설치하기

1-2. WSL2에 docker 설치

  • 아래 홈페이지를 참고하여 WSL2에 docker를 설치하자
  • docker만 설치하면 된다
  • docker-설치

1-3. 소스코드 다운로드

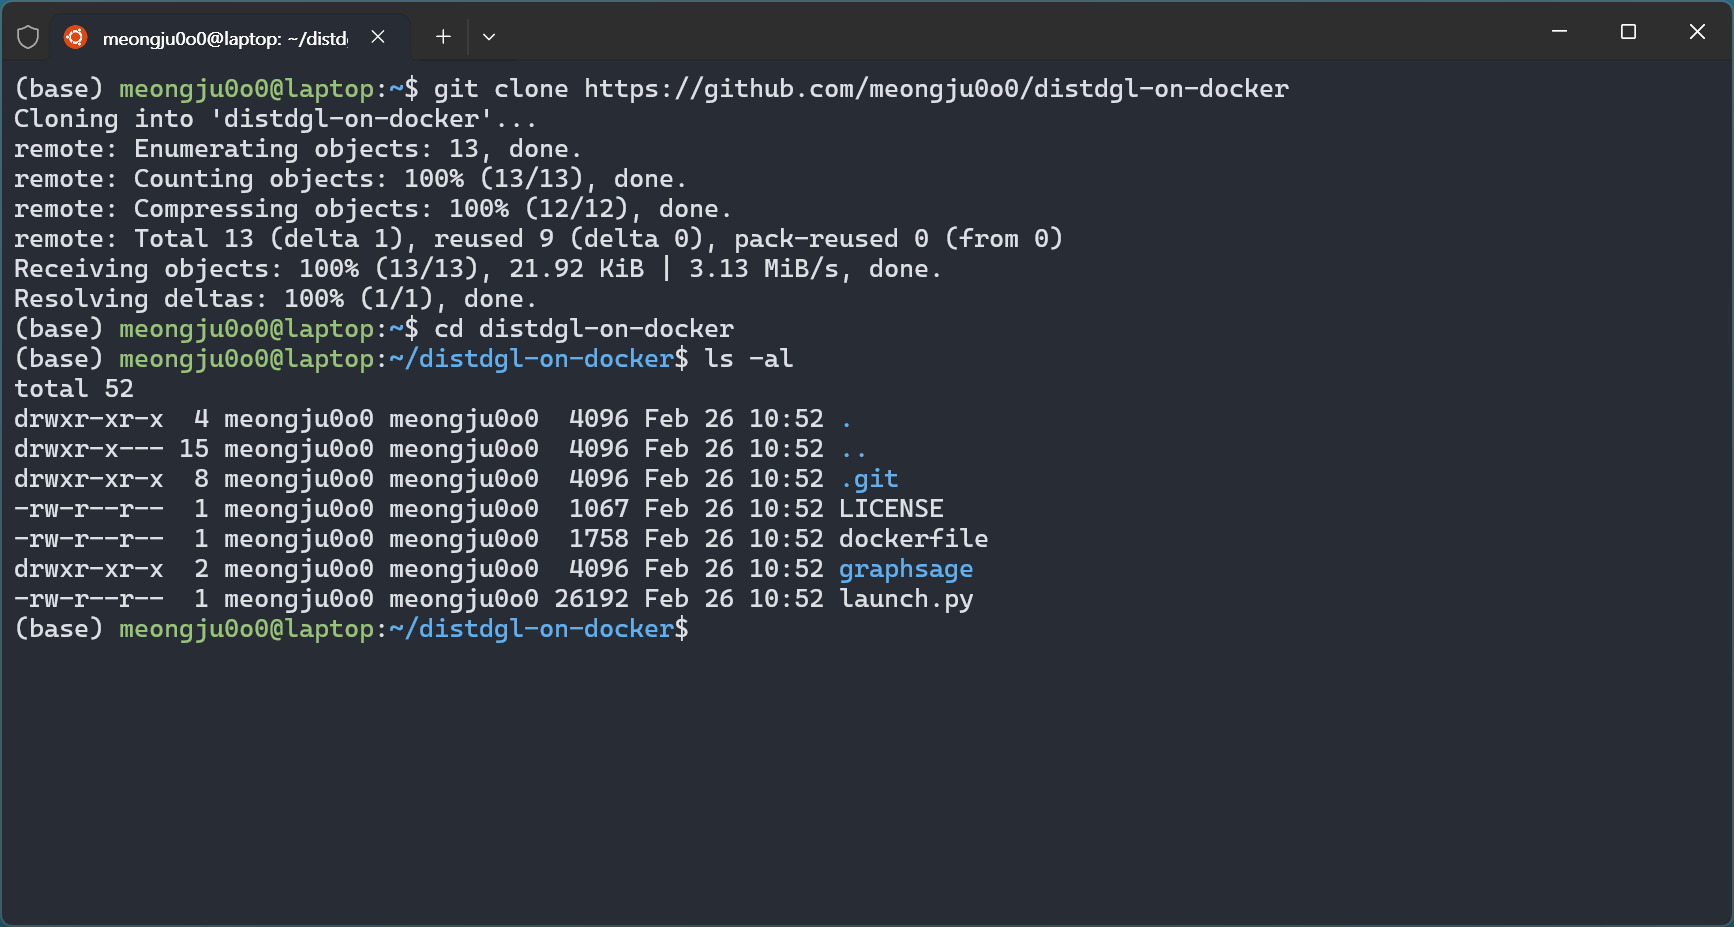
  • 깃 레포지토리를 클론한다
cd ~

git clone https://github.com/meongju0o0/distdgl-on-docker

cd distdgl-on-docker

git_clone

1-4. 도커 이미지 빌드 및 컨테이너 실행

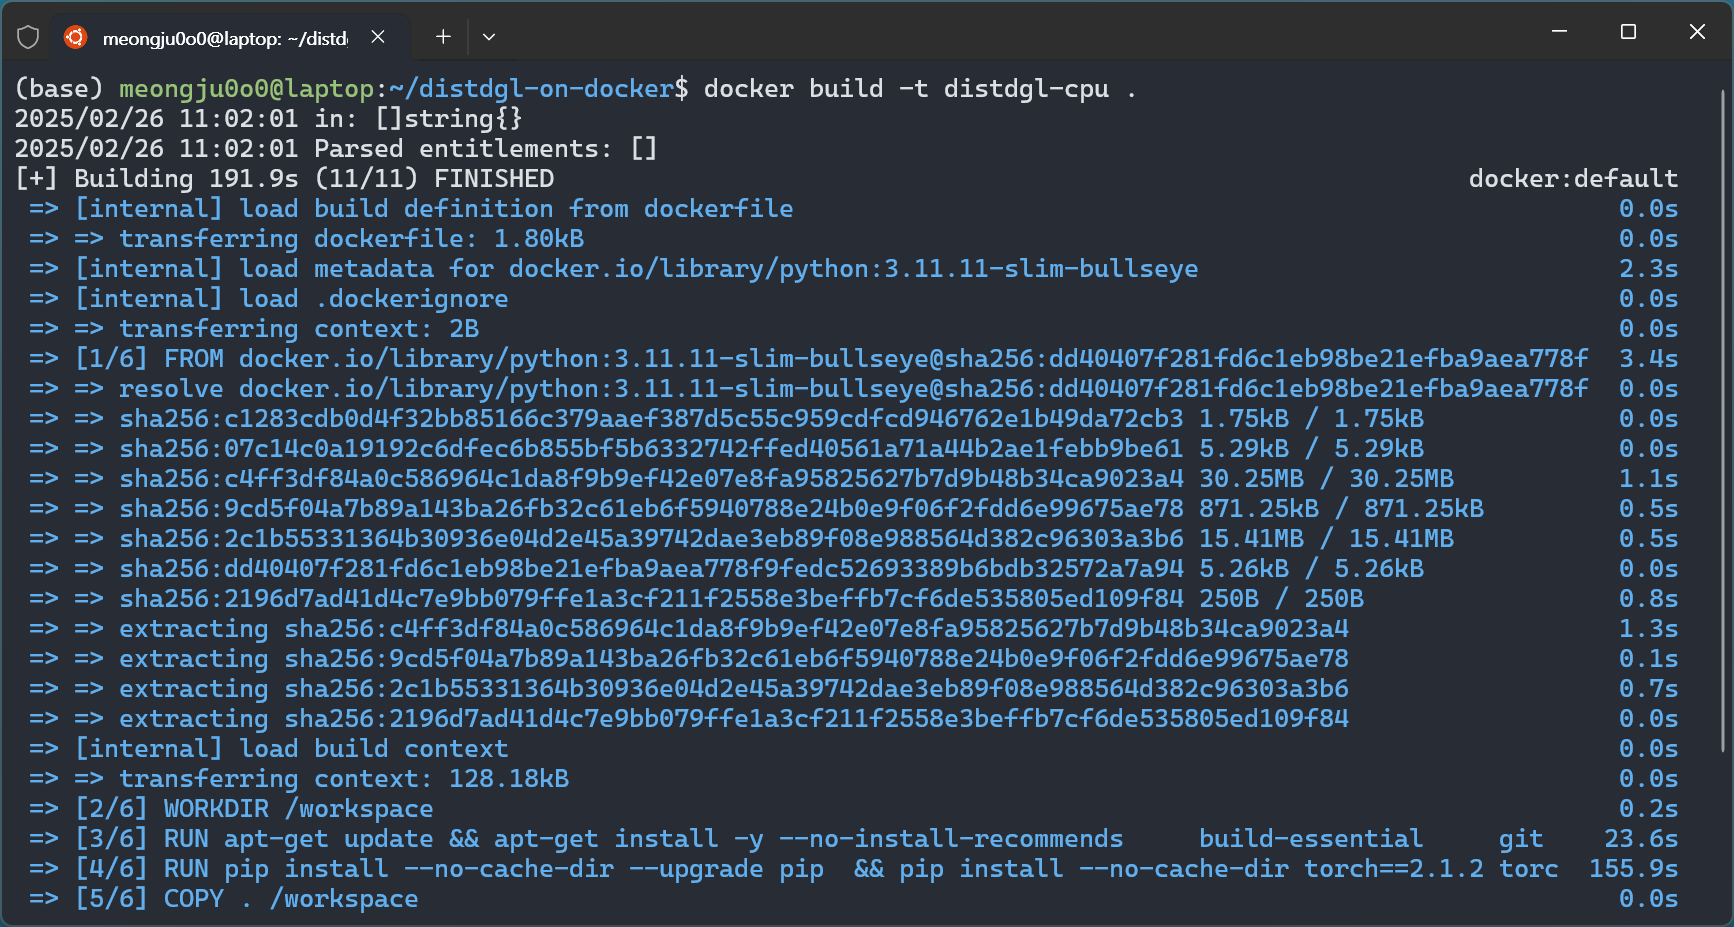
  • 도커 이미지 빌드
docker build -t distdgl-cpu .
  • 주어진 도커 파일은 아래와 같다
# Base image: Python 3.11 (CPU 기반)
FROM python:3.11.11-slim-bullseye

# 작업 디렉토리 설정
WORKDIR /workspace

# 시스템 업데이트 및 필수 패키지 설치
RUN apt-get update && apt-get install -y --no-install-recommends \
    build-essential \
    git \
    libopenblas-dev \
    libblas-dev \
    liblapack-dev \
    gfortran \
    wget \
    openssh-server \
    openmpi-bin \
    openmpi-common \
    libopenmpi-dev \
 && rm -rf /var/lib/apt/lists/*

# pip 업그레이드 후, PyTorch, DGL (CPU 환경용), 그리고 추가 Python 패키지 설치
RUN pip install --no-cache-dir --upgrade pip \
 && pip install --no-cache-dir torch==2.1.2 torchvision==0.16.2 torchaudio==2.1.2 --index-url https://download.pytorch.org/whl/cpu \
 && pip install --no-cache-dir dgl -f https://data.dgl.ai/wheels/torch-2.1/repo.html \
 && pip install --no-cache-dir "numpy<2" scipy networkx tqdm mpi4py ogb

# 현재 빌드 컨텍스트(프로젝트 전체)를 /workspace로 복사
COPY . /workspace

# SSH 서버 설정: root 암호 설정 및 SSH 접속 허용, SSH 관련 디렉토리 생성 및 권한 부여
RUN mkdir -p /root/.ssh && \
    ssh-keygen -t rsa -b 4096 -f /root/.ssh/id_rsa -q -N "" && \
    cp /root/.ssh/id_rsa.pub /root/.ssh/authorized_keys && \
    chmod 600 /root/.ssh/authorized_keys && \
    echo "root:DistDGL" | chpasswd && \
    sed -i 's/#PermitRootLogin prohibit-password/PermitRootLogin yes/' /etc/ssh/sshd_config && \
    sed -i 's/#PasswordAuthentication yes/PasswordAuthentication yes/' /etc/ssh/sshd_config && \
    mkdir -p /var/run/sshd && \
    mkdir -p /run/sshd && chmod 0755 /run/sshd

# 22번 포트 노출 (SSH)
EXPOSE 22

# 컨테이너 시작 시 SSH 데몬 실행
CMD ["/usr/sbin/sshd", "-D"]

docker_build

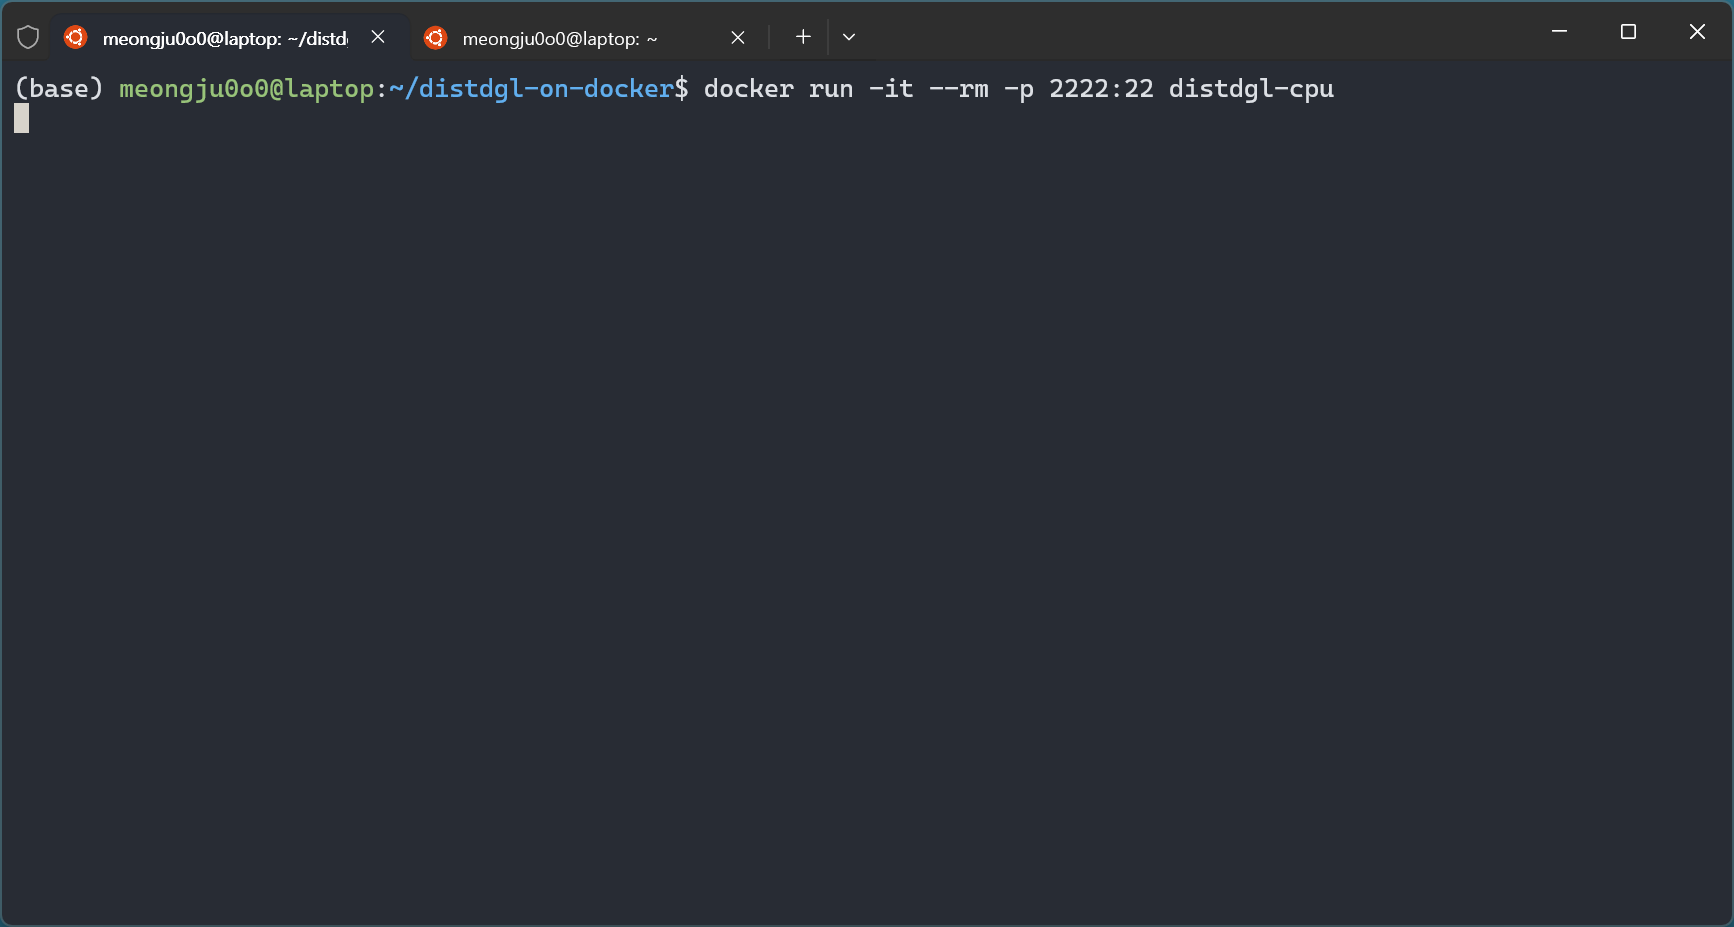
  • 빌드된 이미지 실행
docker run -it --rm -p 2222:22 distdgl-cpu

docker_run

1-5. 실행 중인 컨테이너로 SSH 접속 및 학습 수행

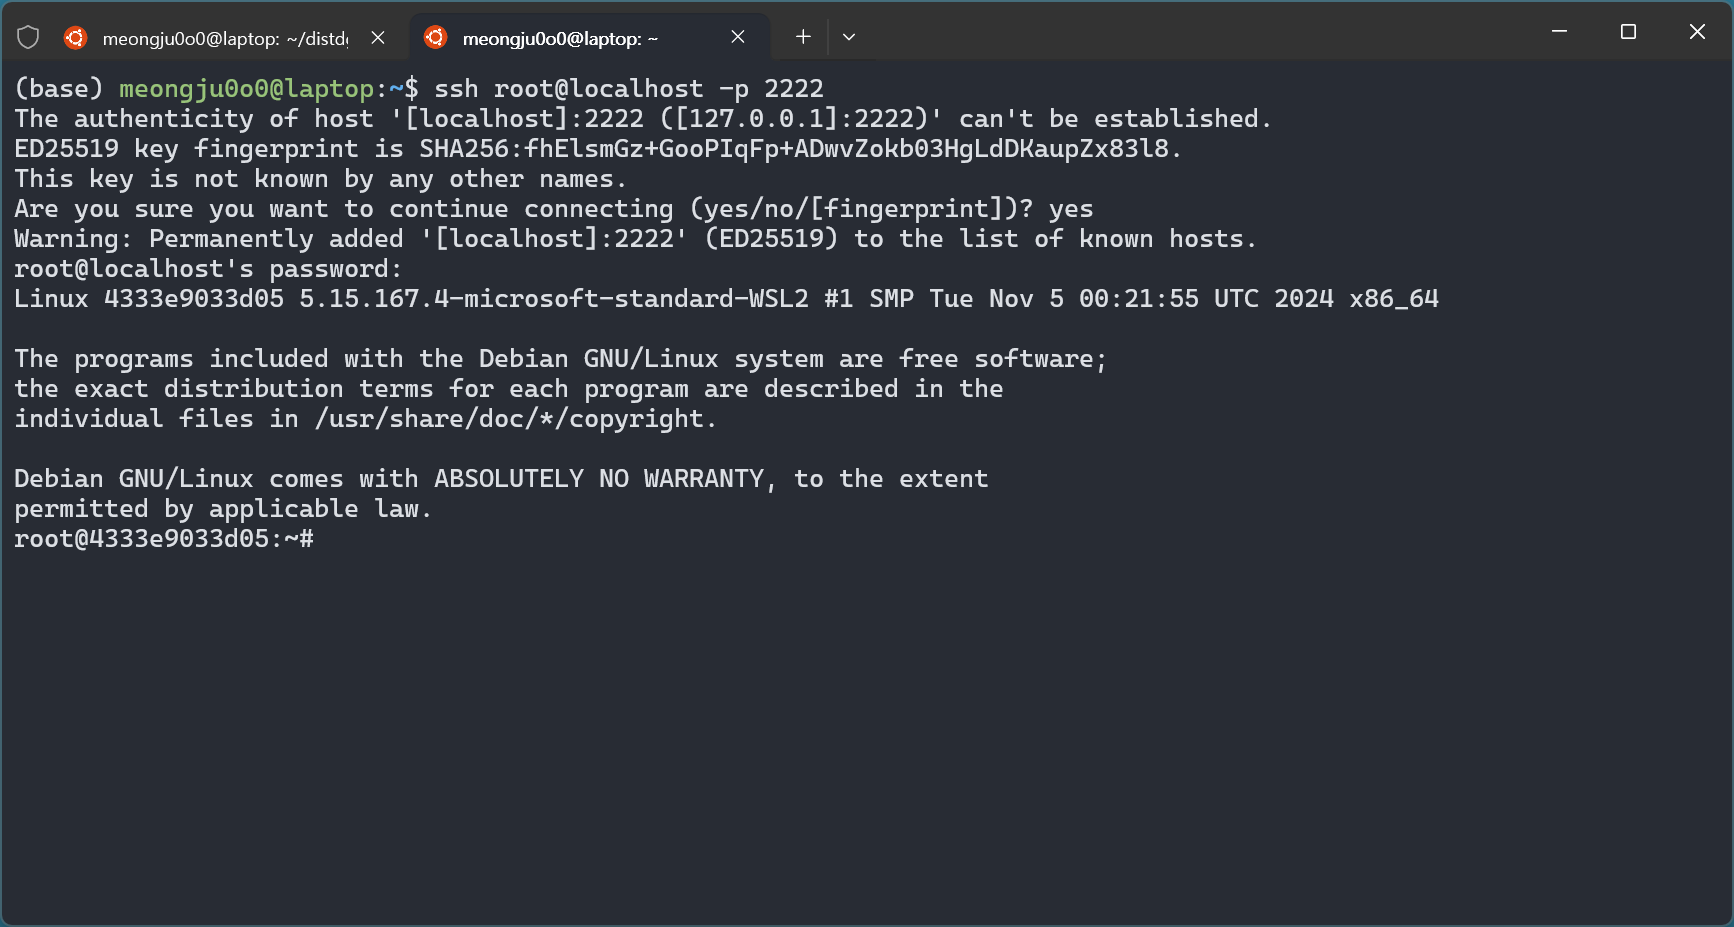
  • WSL2 터미널 세션 추가 생성
  • 컨테이너 SSH 접속
  • 비밀번호: DistDGL
ssh root@localhost -p 2222

container_ssh

1-6. 그래프 데이터 다운로드 및 파티셔닝

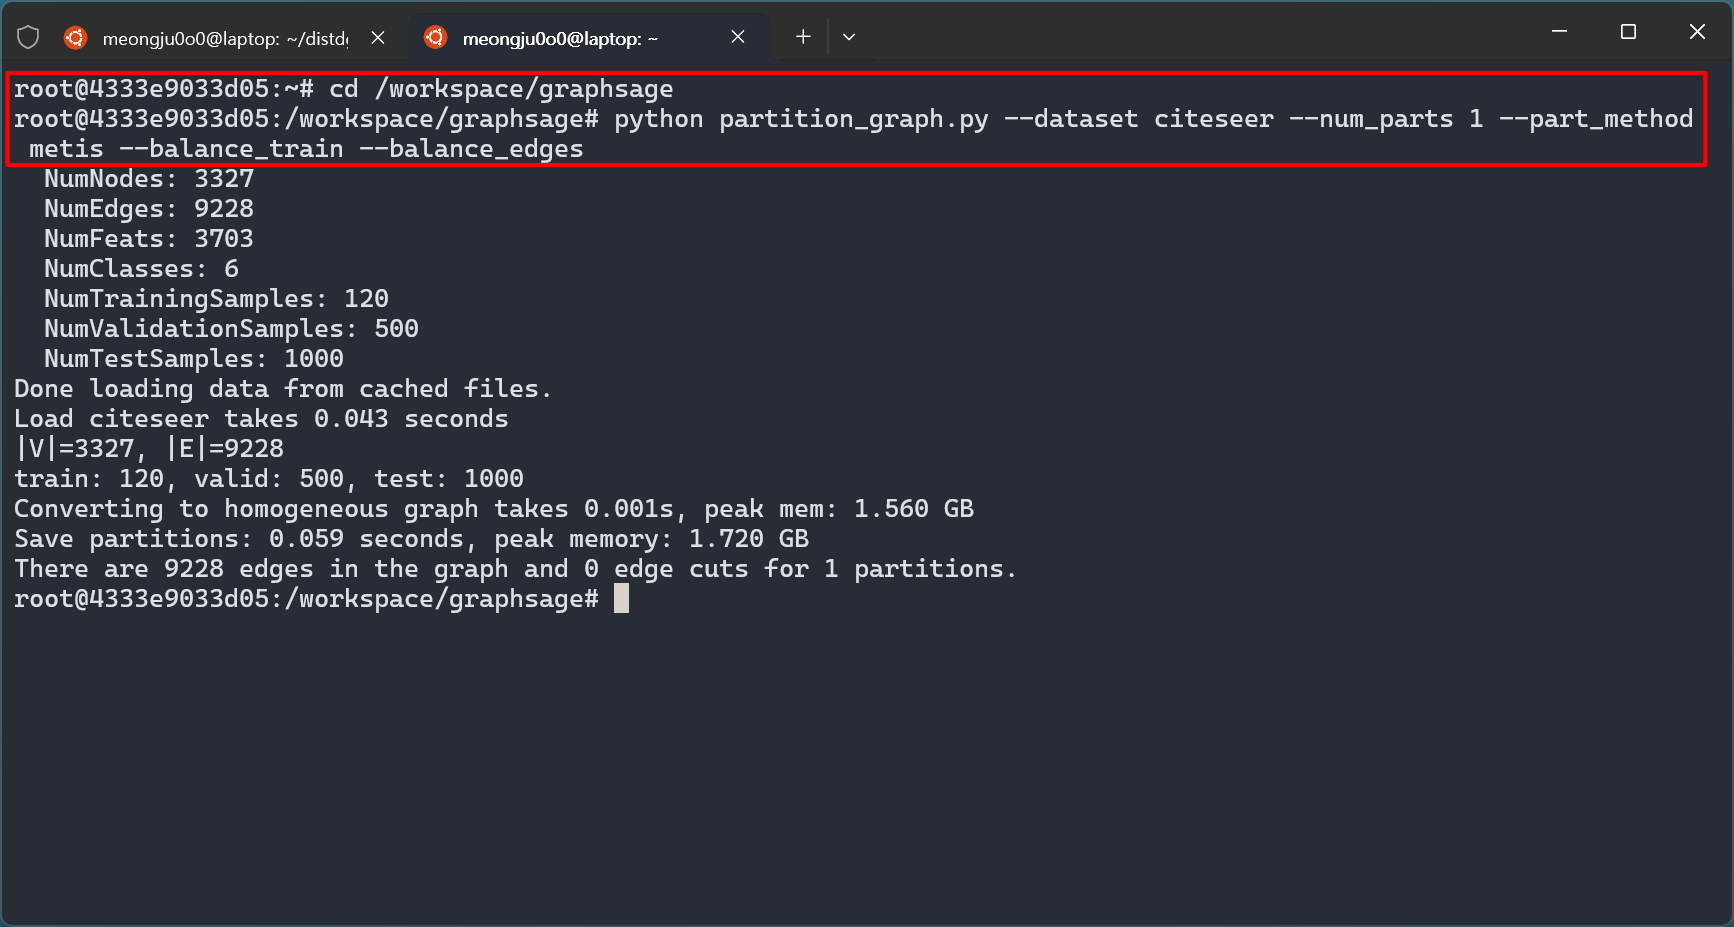
  • /workspace/graphsage 디렉토리로 이동
cd /workspace/graphsage
  • 파티셔닝 및 그래프 메타데이터 생성
python partition_graph.py --dataset citeseer --num_parts 1 --part_method metis --balance_train --balance_edges

partition_graph

1-7. DistDGL 기반 GraphSAGE 학습 수행

  • /workspace 디렉토리로 이동
cd /workspace
  • 학습 수행
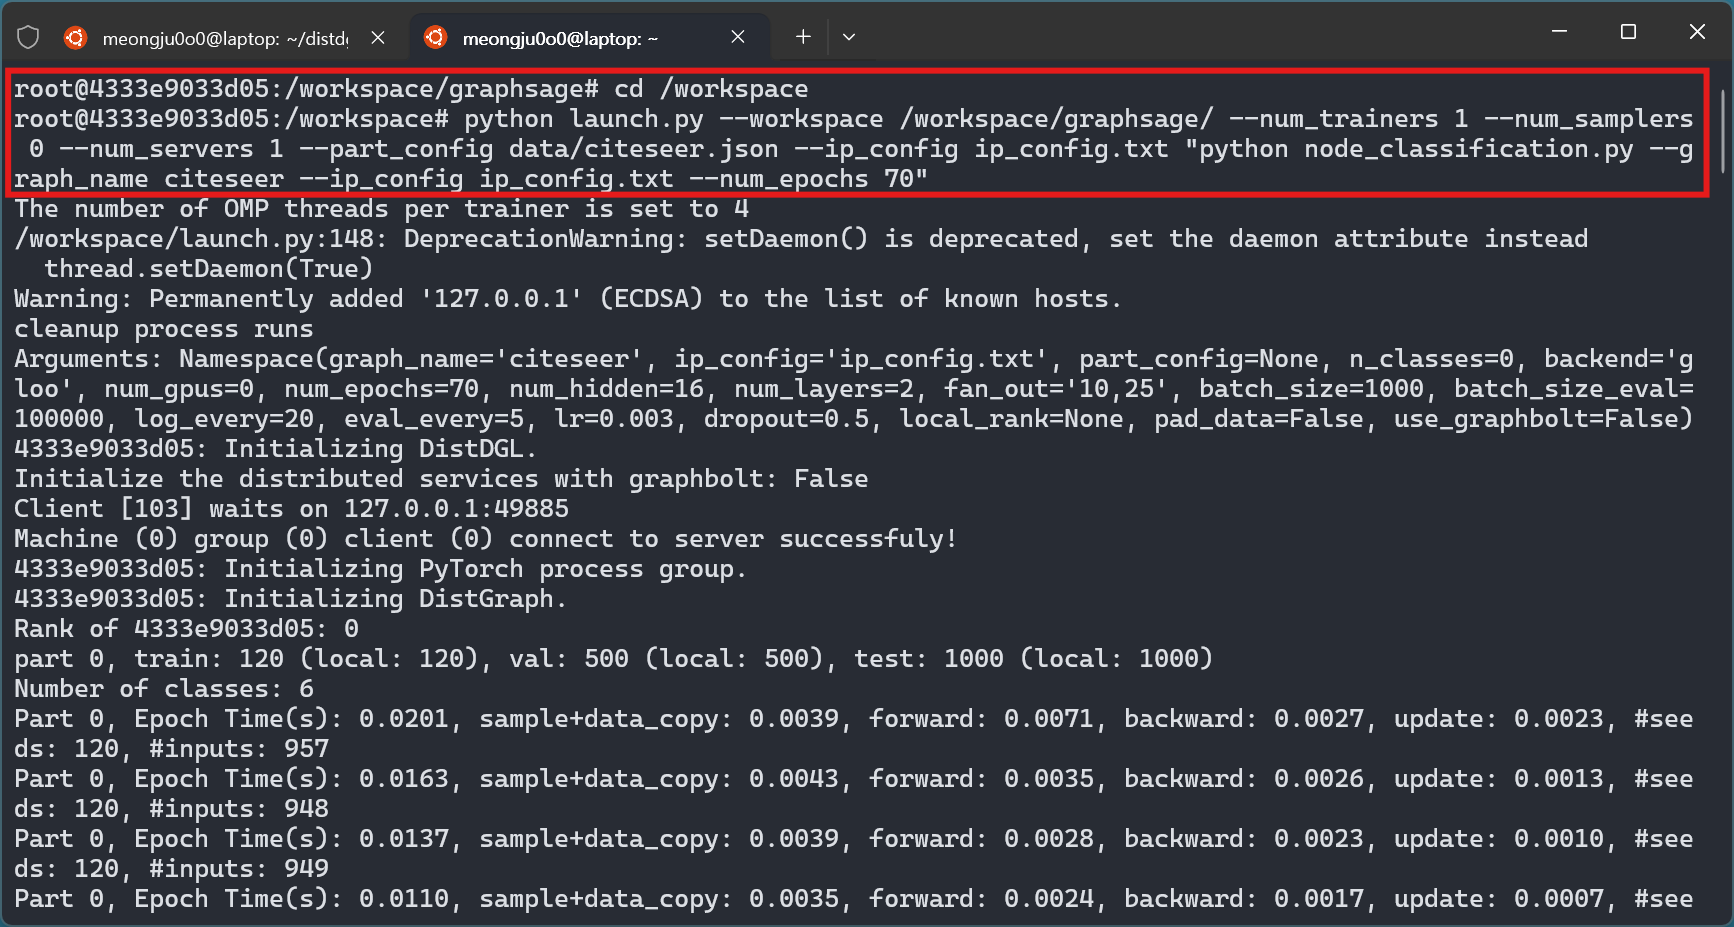
python launch.py --workspace /workspace/graphsage/ --num_trainers 1 --num_samplers 0 --num_servers 1 --part_config data/citeseer.json --ip_config ip_config.txt "python node_classification.py --graph_name citeseer --ip_config ip_config.txt --num_epochs 70"

node_classification

2. NFS 서버 컨테이너 실행 테스트

2-1. NFS 서버 컨테이너 실행(K8s-master)

  • nfs-common 패키지 설치
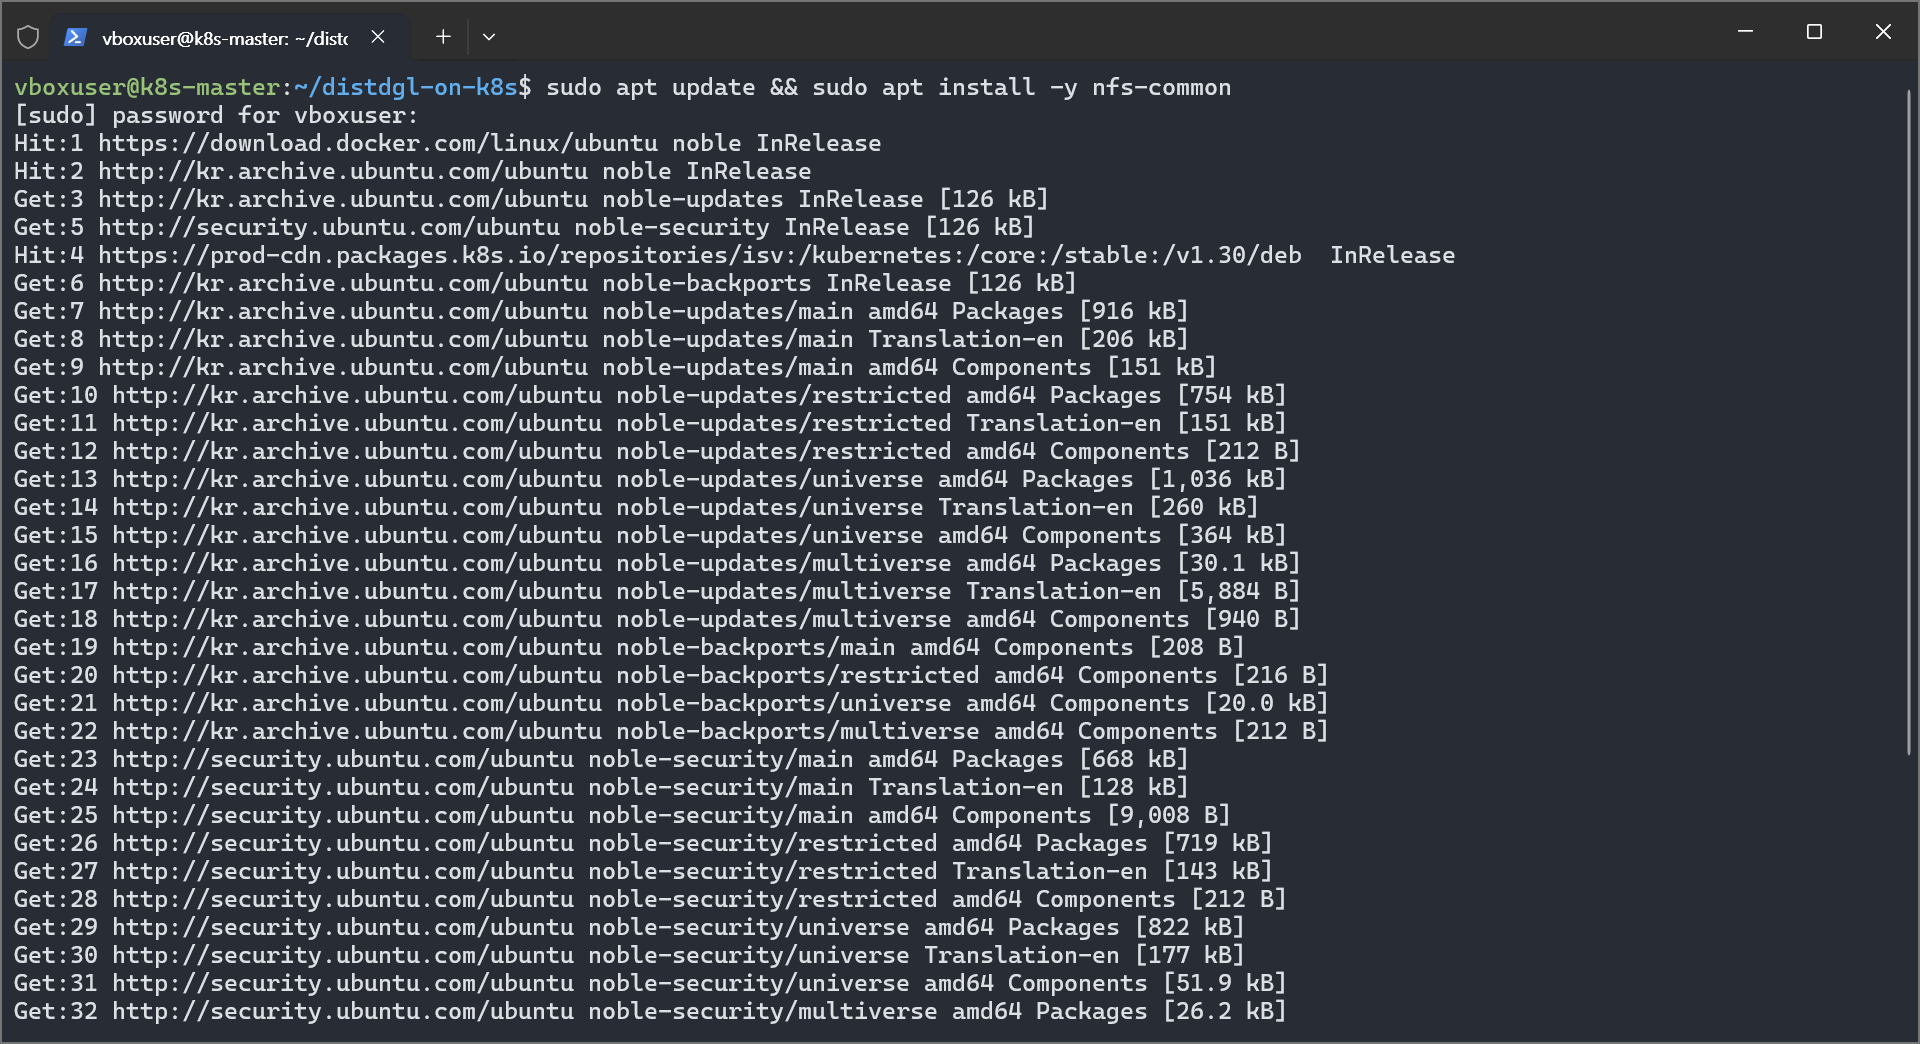
sudo apt update && sudo apt install -y nfs-common

nfs_common_install

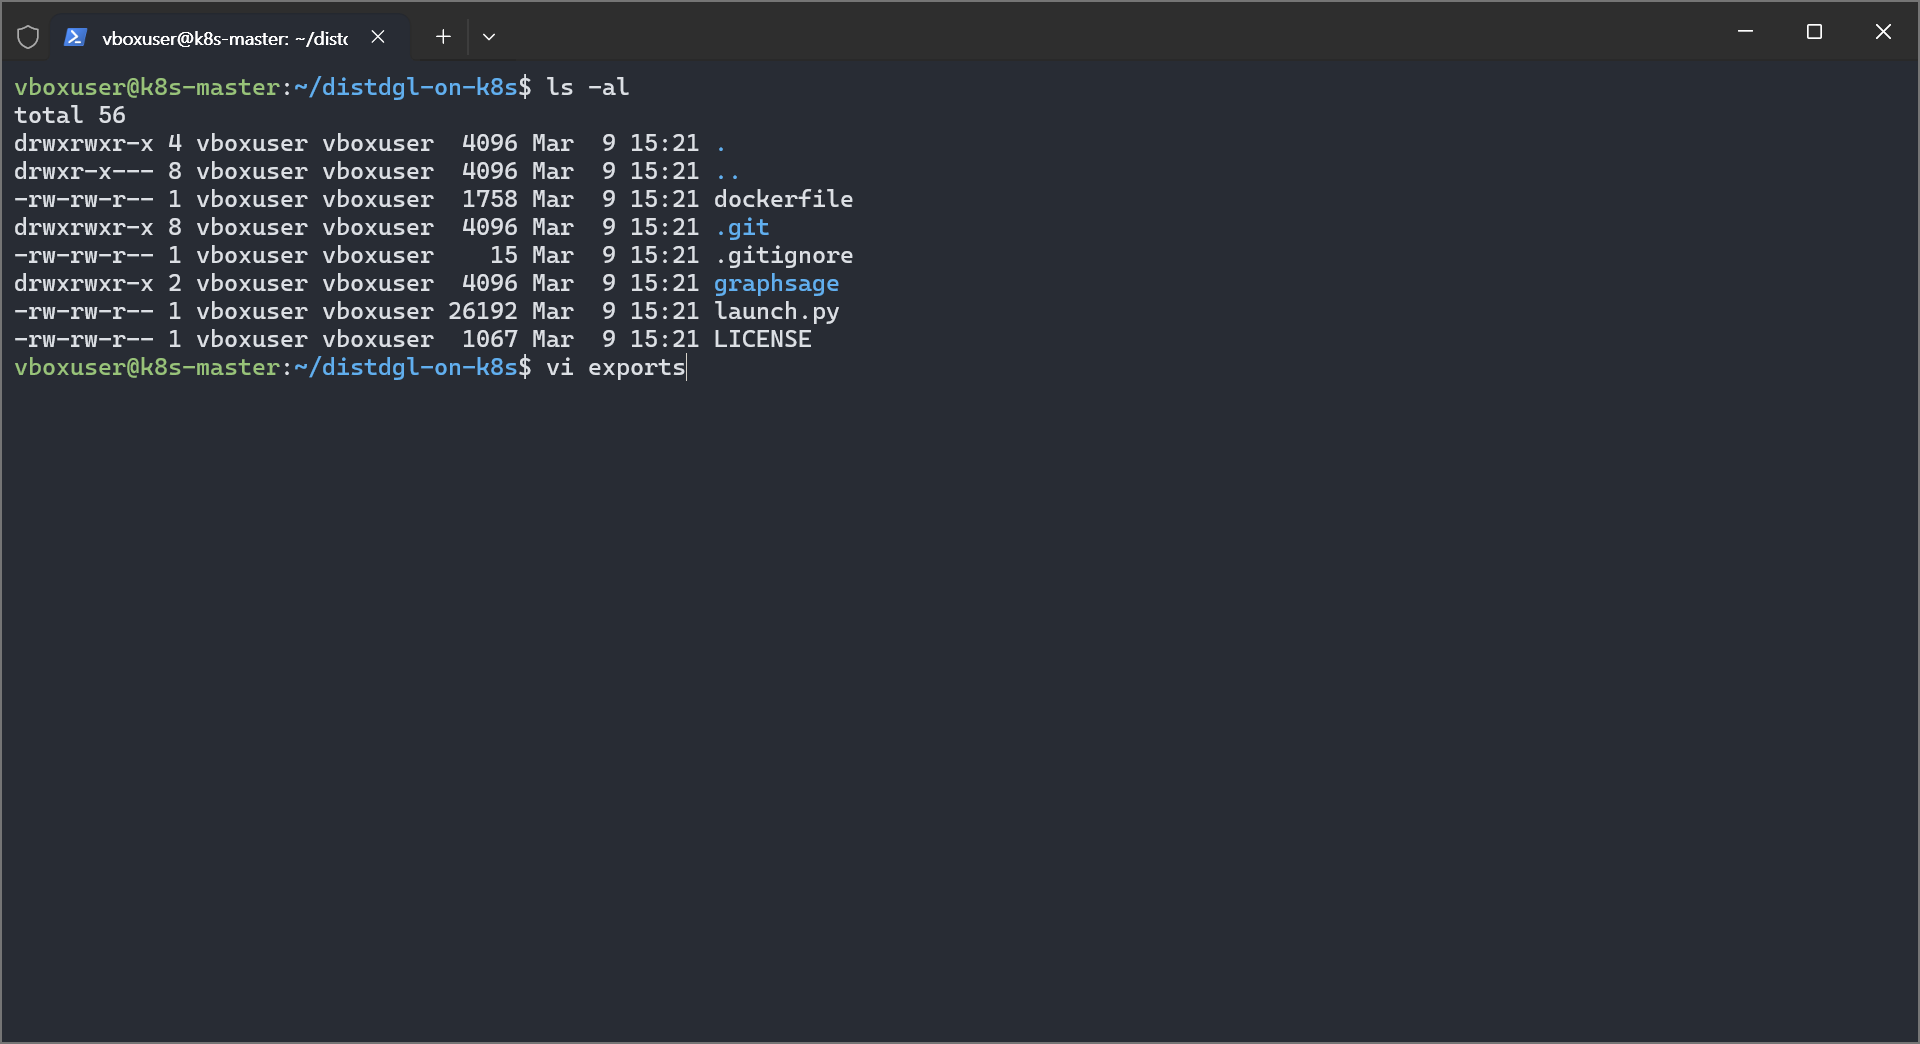
  • exports 파일 작성
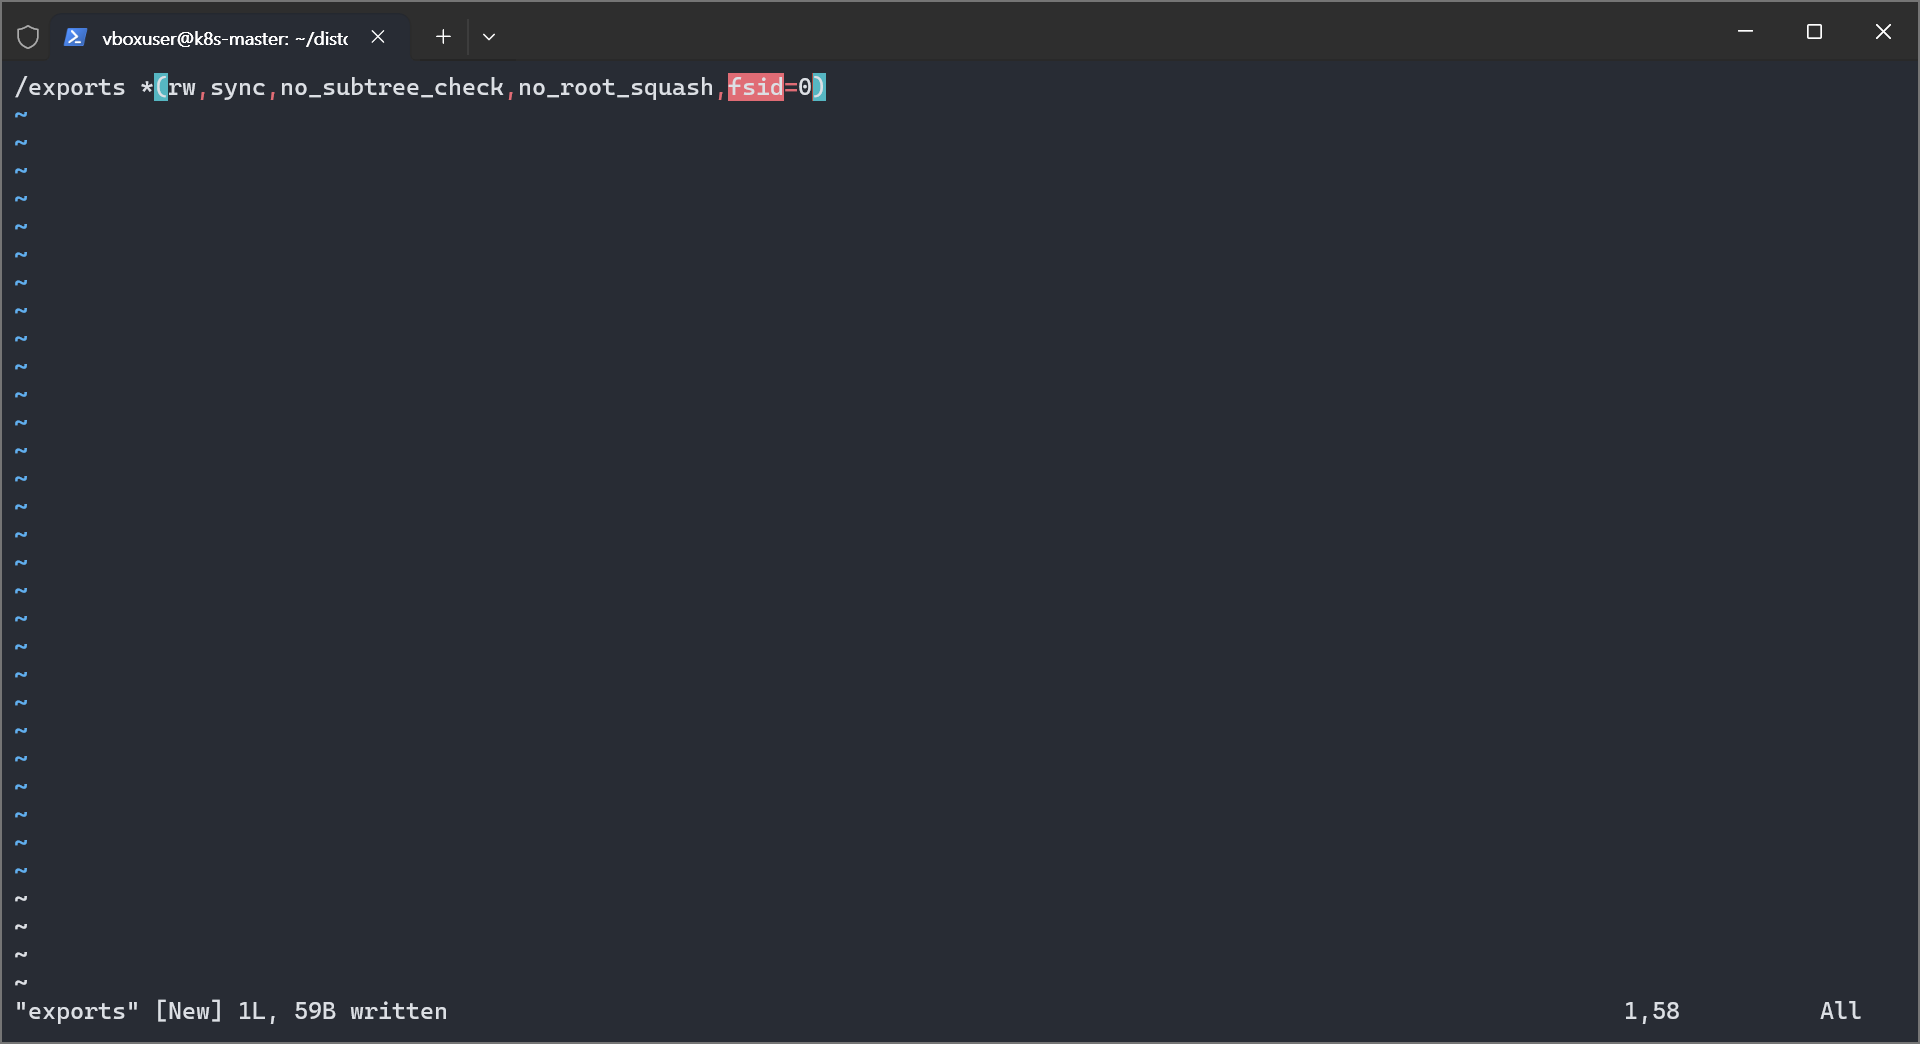
/exports *(rw,sync,no_subtree_check,no_root_squash,fsid=0)

vi_exports

edit_exports

  • nfs 모듈 로드
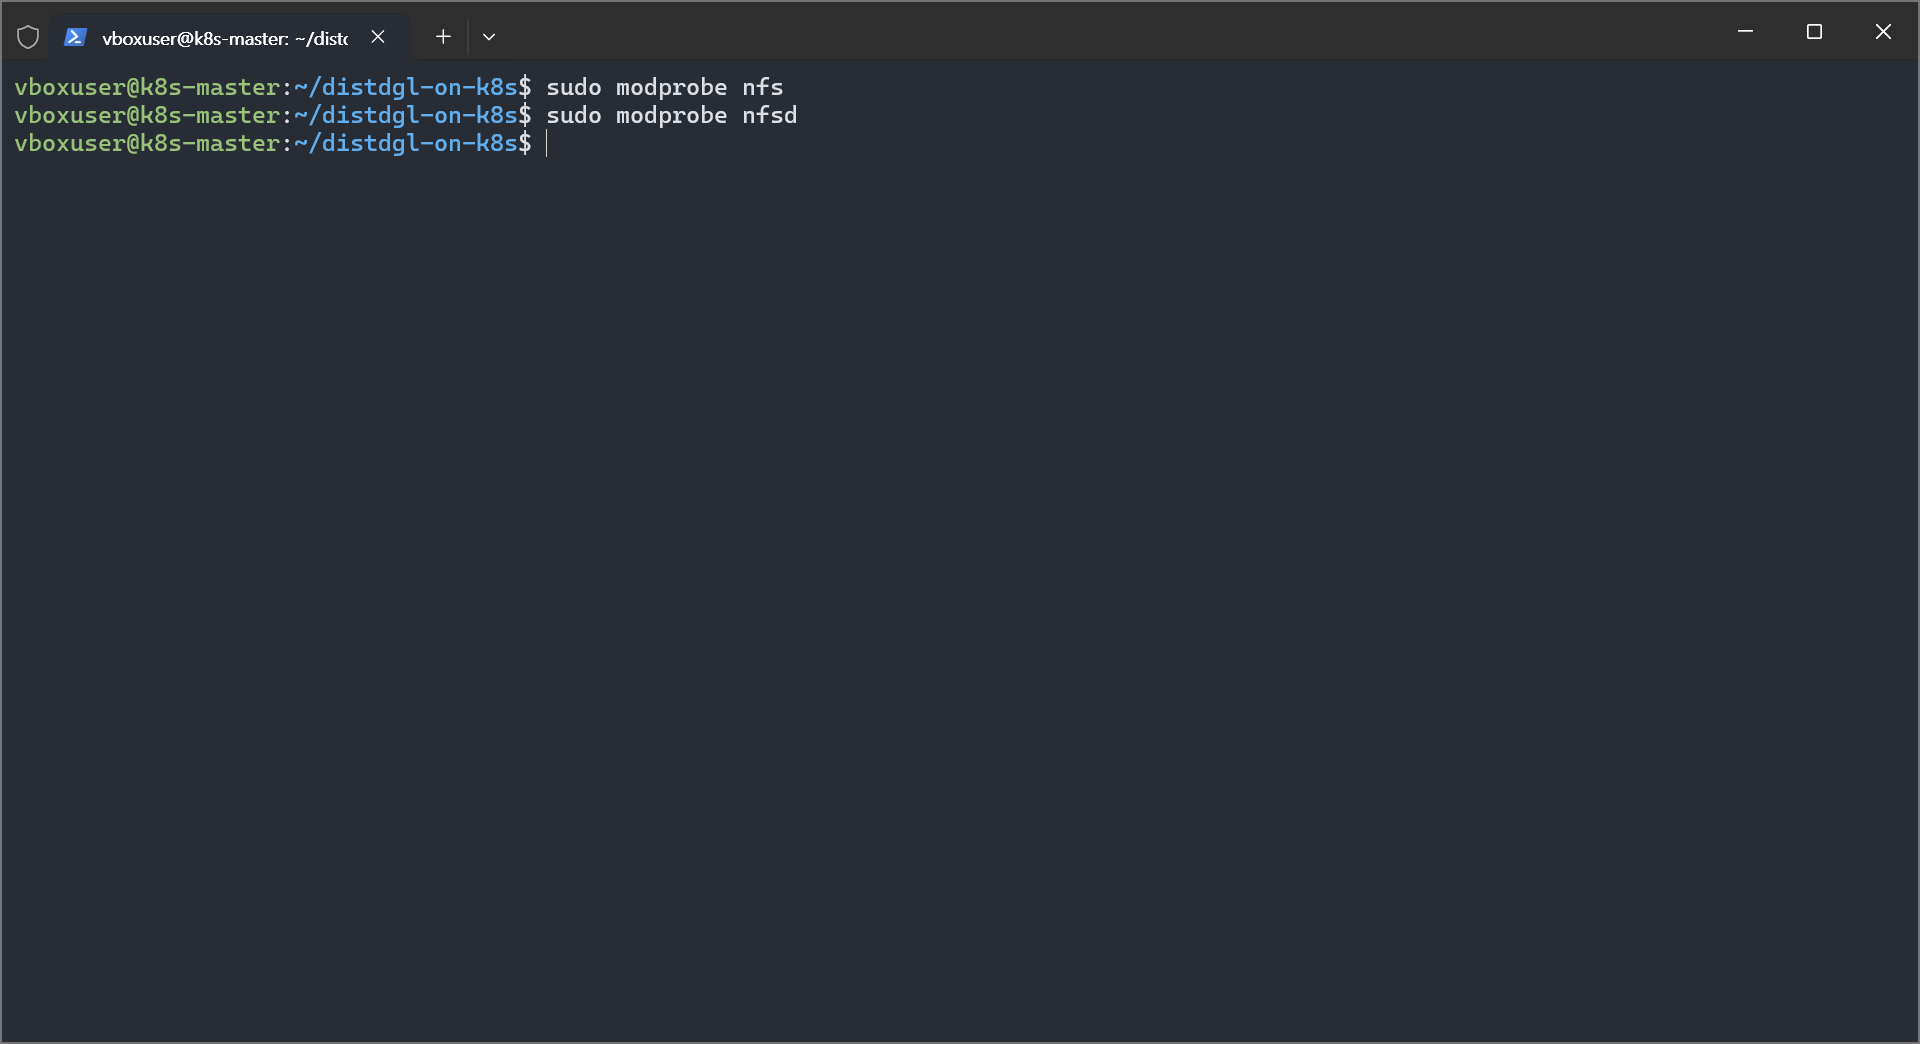
sudo modprobe nfs && sudo modprobe nfsd

modprobe_nfs_nfsd

2-2. NFS 클라이언트 접속 테스트(k8s-node1, k8s-node2)

  • k8s-node1 접속
ssh vboxuser@192.168.137.1 -p 20122
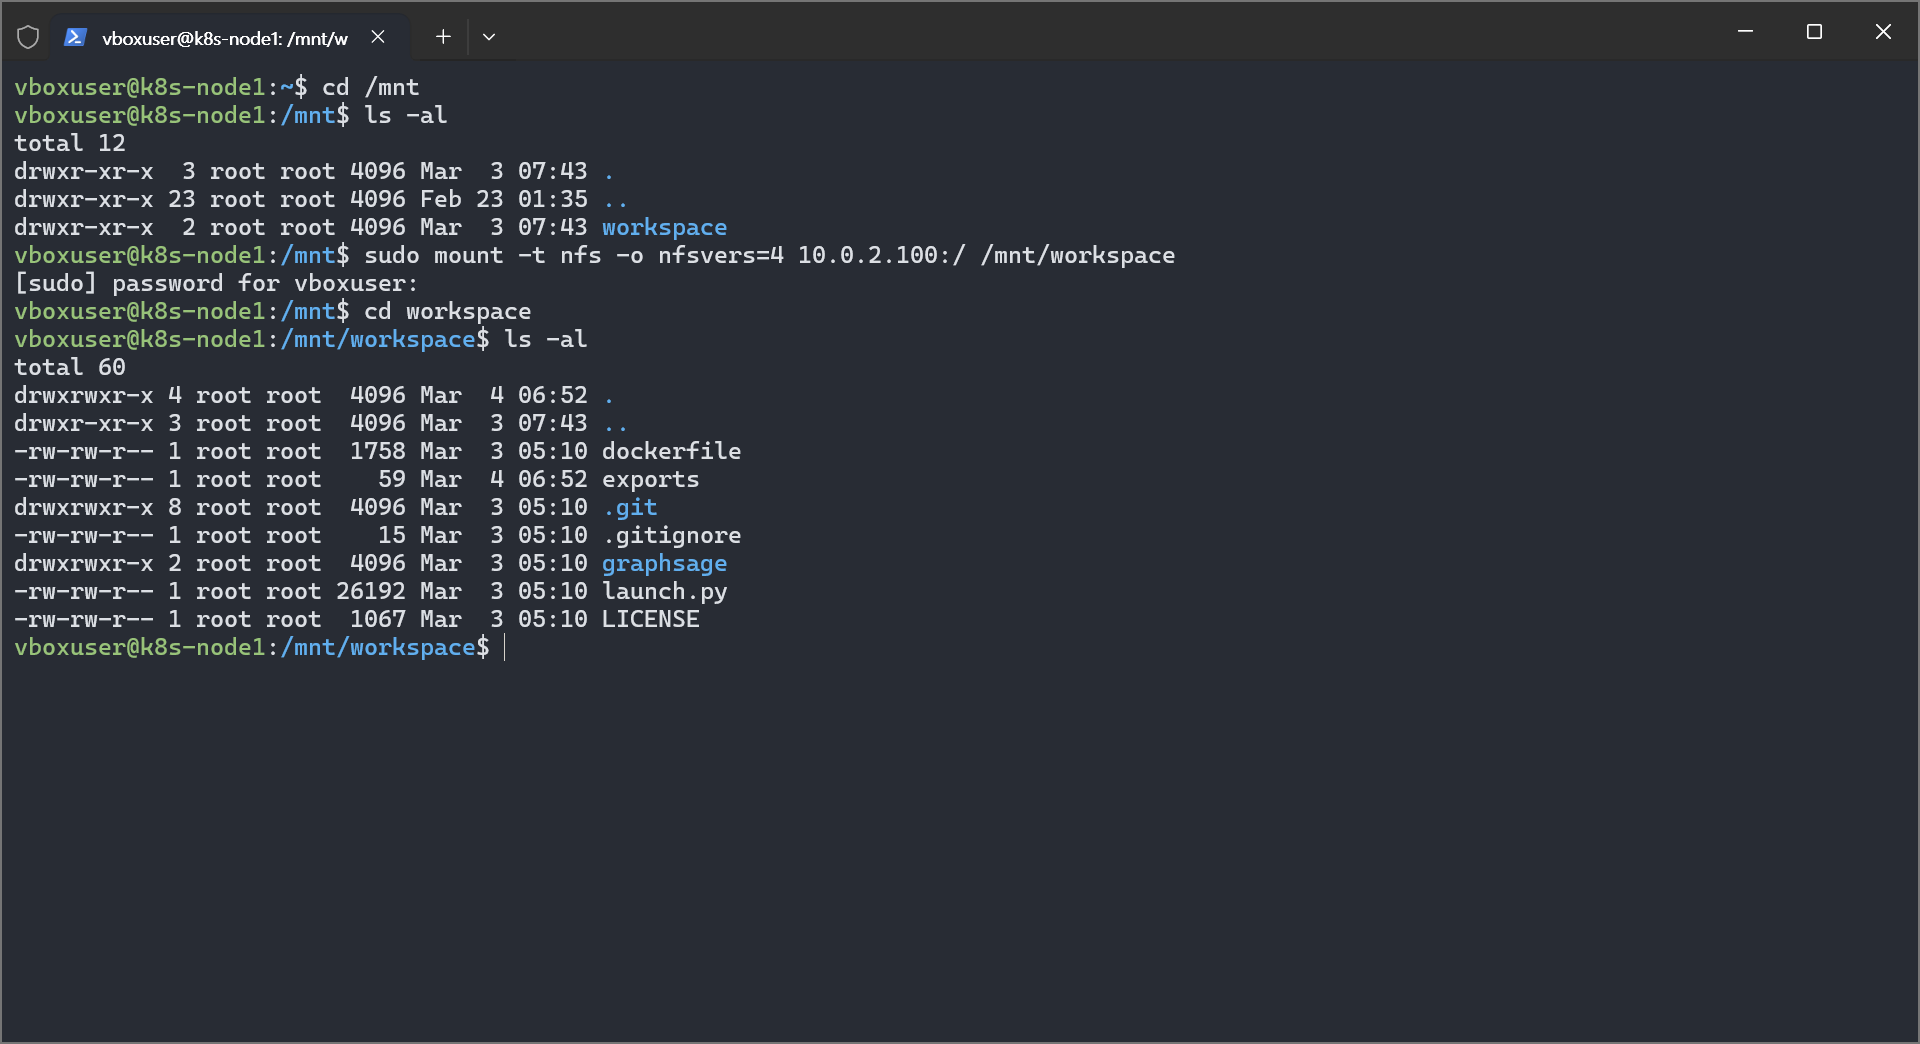
  • 폴더 마운트
cd /mnt
sudo mkdir workspace
sudo mount -t nfs -o nfsvers=4 10.0.2.100:/ /mnt/workspace
mount_nfs_container

3. NFS 서버 파드 생성

3-1. yaml 파일 작성

3-2. 파드 실행

댓글남기기